
Latest News

Nail Art How-To: Tropical Fingertips
Monday, 01 September 2014 - 15:14 | Views - 2,793
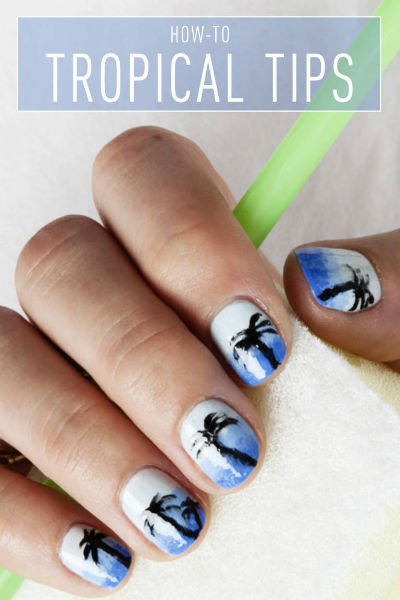
Tools you'll need:
1. Basecoat
2. Light blue nail polish
3. Makeup Sponge
4. Cornflower blue nail polish
5. Periwinkle nail polish
6. Drinking straw
7. Black nail polish
8. Scissors
9. Topcoat
1. Prep and paint.
1. Basecoat
2. Light blue nail polish
3. Makeup Sponge
4. Cornflower blue nail polish
5. Periwinkle nail polish
6. Drinking straw
7. Black nail polish
8. Scissors
9. Topcoat
1. Prep and paint.
File your nails into the
desired shape, push back your cuticles — DO
NOT CUT THEM! — and apply a basecoat. Then,
swipe on a coat of a super light blue base
color.
2. Sponge on a cornflower blue hue.
Take the corner of a makeup sponge and paint on
a light blue polish, from the halfway down
the nail to the nail tip to create the
first layer of ombrè.
3. Top off your ombrè effect with a
periwinkle shade. Using the opposite side
of your sponge, apply a periwinkle polish,
and tap the paint at the tip of your nail.
4. Prepare to create some palm leaves with
a straw.
To create the palm leaf shapes,
cut away half of the width of a drinking
straw. Then, apply black nail polish, over
the curved tip.
5. Draw on the palm tree leaves.
Press the tip of the straw onto your nail gently and
create three fronds on each side, making
sure the curved lines are smaller at the
top and larger at the bottom. You can place
the cluster wherever you'd like your palm
tree to be on your nail.
6. Cut your straw even thinner to create
the trunk of the palm tree.
Dip the strip of straw in the black polish.
7. Paint a line from the palm tree leaves
to the tip of the nail.
It's OK if it's not perfectly straight as palm tree trunks are
slightly curved in shape anyway.
Finally, swipe on a Top Coat to seal in
your design.
desired shape, push back your cuticles — DO
NOT CUT THEM! — and apply a basecoat. Then,
swipe on a coat of a super light blue base
color.
2. Sponge on a cornflower blue hue.
Take the corner of a makeup sponge and paint on
a light blue polish, from the halfway down
the nail to the nail tip to create the
first layer of ombrè.
3. Top off your ombrè effect with a
periwinkle shade. Using the opposite side
of your sponge, apply a periwinkle polish,
and tap the paint at the tip of your nail.
4. Prepare to create some palm leaves with
a straw.
To create the palm leaf shapes,
cut away half of the width of a drinking
straw. Then, apply black nail polish, over
the curved tip.
5. Draw on the palm tree leaves.
Press the tip of the straw onto your nail gently and
create three fronds on each side, making
sure the curved lines are smaller at the
top and larger at the bottom. You can place
the cluster wherever you'd like your palm
tree to be on your nail.
6. Cut your straw even thinner to create
the trunk of the palm tree.
Dip the strip of straw in the black polish.
7. Paint a line from the palm tree leaves
to the tip of the nail.
It's OK if it's not perfectly straight as palm tree trunks are
slightly curved in shape anyway.
Finally, swipe on a Top Coat to seal in
your design.







Monday, 27 July 2026 - 9:40
After years dominated by hyper-saturated trend cycles and sleek, ultra-smooth minimalism, fashion has...

Monday, 20 July 2026 - 9:35
The era of hyper-rigid seasonal dress codes has quietly dissolved. Where personal style once demanded...
Monday, 08 June 2026 - 18:35
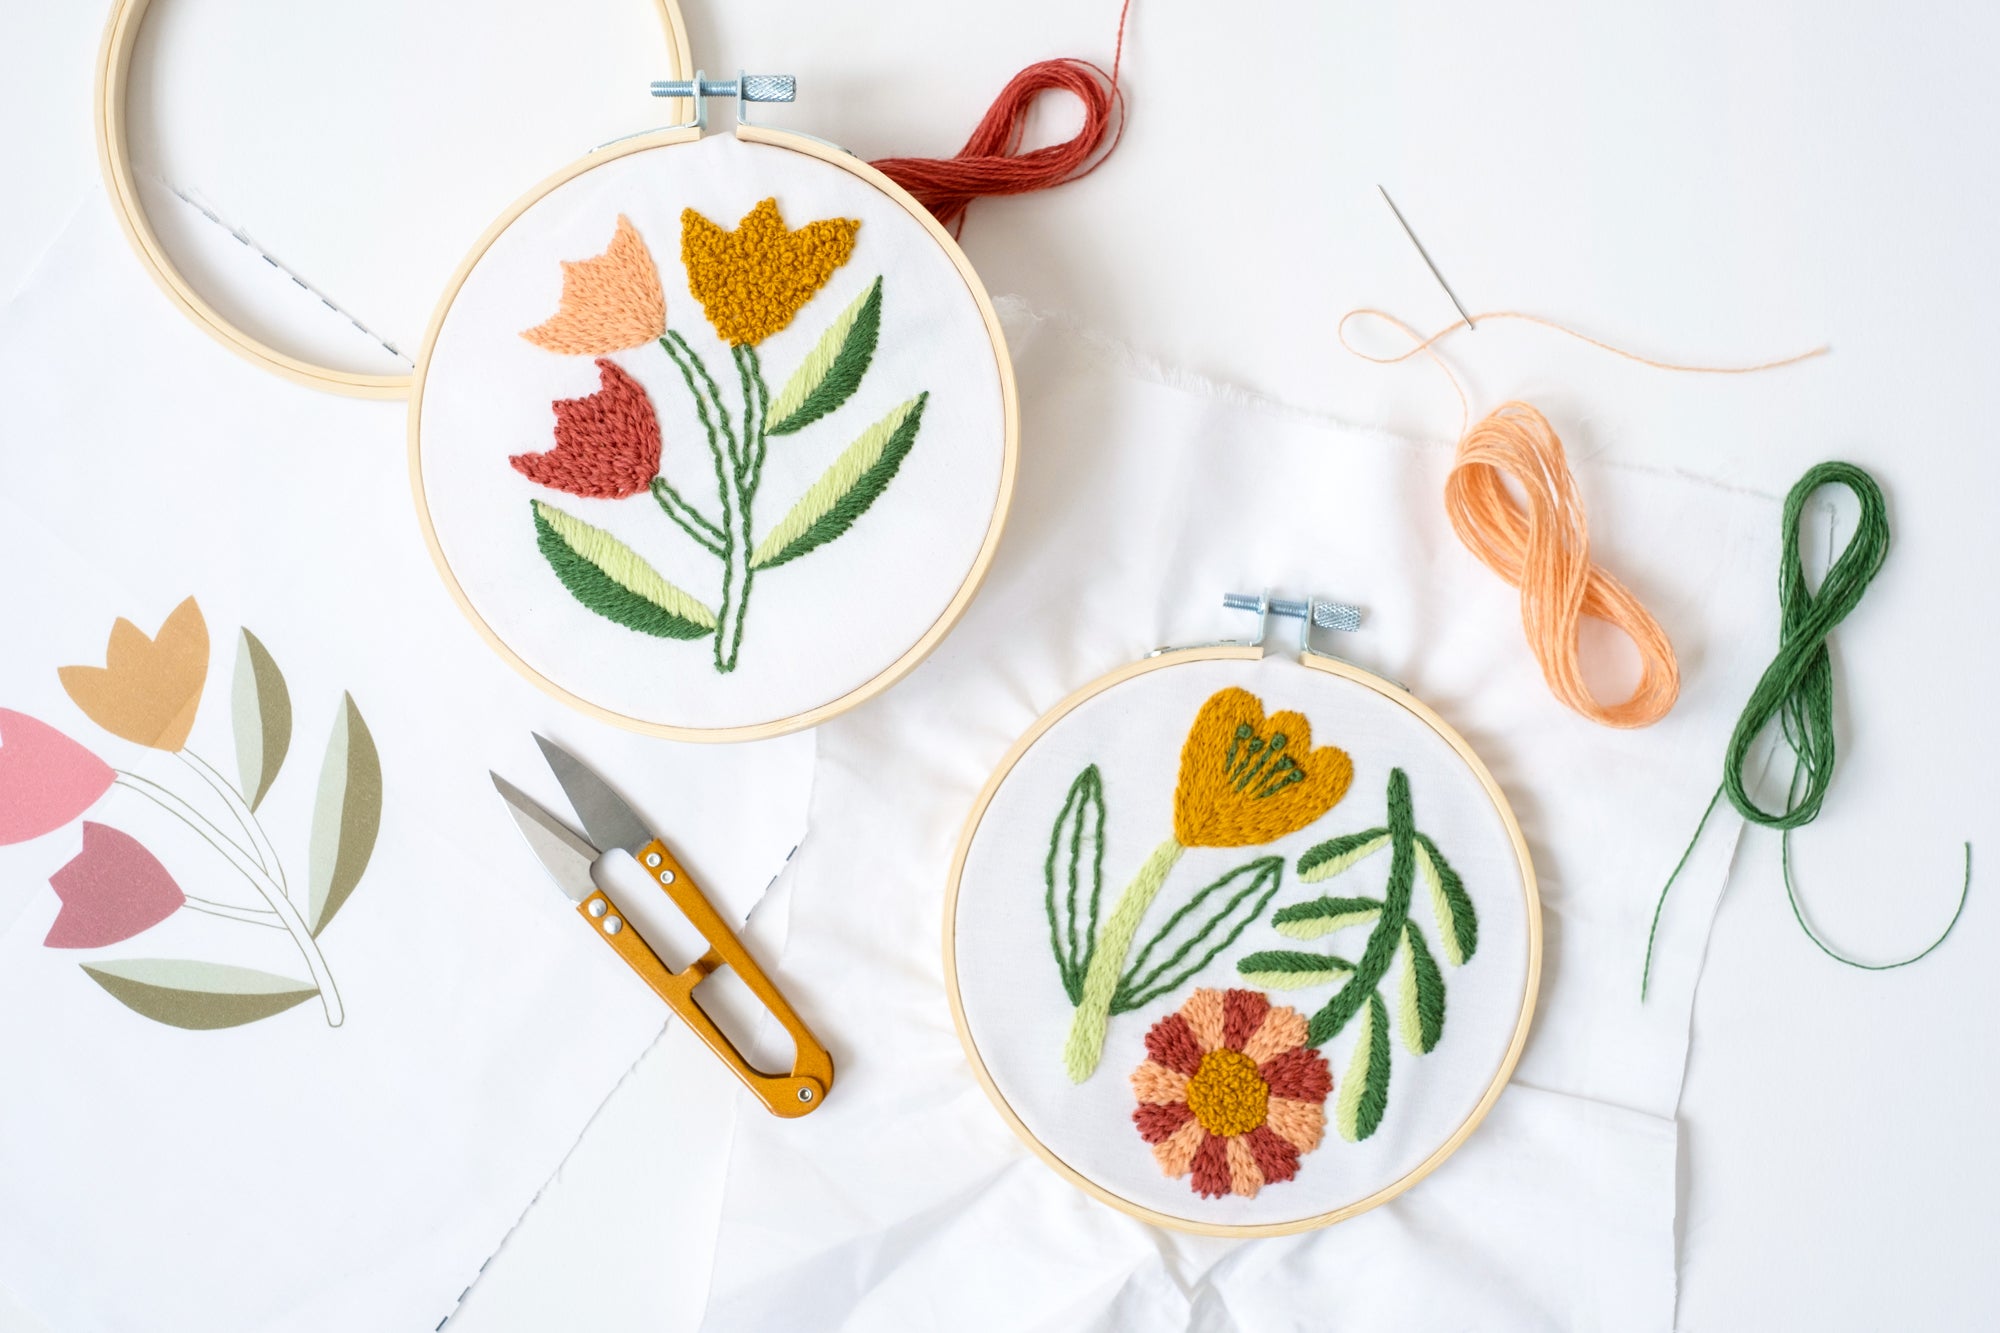
There was a time when sleek, unadorned surfaces and flat printed graphics defined what it meant to be...



Tuesday, 25 August 2026

Thursday, 13 August 2026

Wednesday, 05 August 2026


Tuesday, 18 August 2026
Tuesday, 28 July 2026
Monday, 20 July 2026
Friday, 15 May 2026